In this section :
- Creating a new document
- Importing an existing document
- Document settings
- Opening a document
- Closing a document
1 – Creating a new document
In order to create a new document, you’ll first need to double-click on the software icon to open MacCompta Pro.
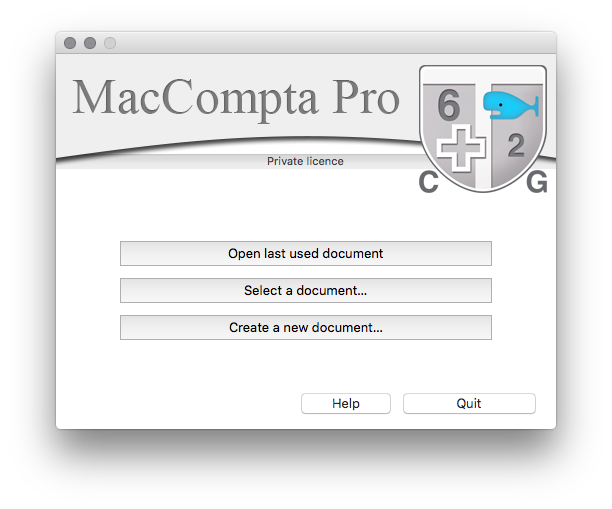
The welcome screen will come up (see picture below). If you want to make a new document, click on “Create a new document“.
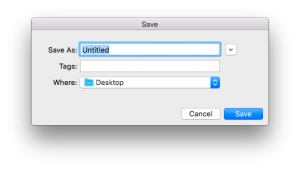
Give a name to your document and choose where you want to save it to.
In Finder, on Mac, or in Windows Edge, on PC (formally Windows Explorer), MacCompta Pro documents will look like this:
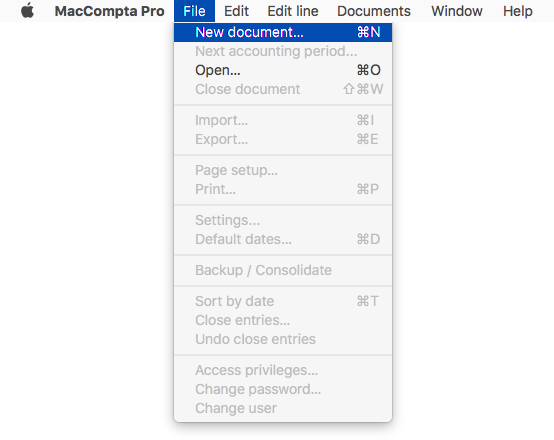
NOTE : You can also create a new document anytime by going to File > New Document.
2 – Importing an existing document
The chart of accounts is the centerpiece of any financial plan: no transaction can be entered in a nonexistent account, which is why the chart of accounts must be created first.
There are three ways of doing this:
- creating it from scratch
- importing an existing chart of accounts
- at the time of creating a new document
- at the time of starting a new accounting period from the menu File > New accounting period.
- importing a chart of accounts in .txt or .csv format with tabbed text.
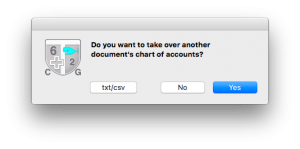 When you see this dialog box , click on “Yes” to import an existing chart of accounts. Select the .cptp file you want to open, or select a .txt/.csv (only tabbed text) which contains a valid chart of accounts.
NOTE : Downloadable chart of accounts samples can be found on our website www.maccompta.ch.
3 – Document settings
The document settings window will show up just after clicking on “Create a new document“.
If you ever need to change those settings, go to File > Settings.
Title
The title is the name of your document. You will see it in every window and in the header whenever you print something out.
Ledger
Number of transactions
This option allows you to set the number of transactions to enter during the whole accounting period (max. 999’999).
This value can be modified at any given time. It is therefore possible to start with the preset number of 8’000 transactions.
When the ledger tells you that you have reached the maximum number of entries, you can simply raise the maximum number of transactions in File > Settings.
NOTE : In demo mode and in the school edition, the number of entries for the ledger is limited to 512 entries.
Length of the label and transaction reference fields
In the Pro edition, you can set the length anywhere between 45 to 63 characters for the label field, or 4 to 7 characters for the reference field.
Chart of Accounts
Number of accounts
In the Pro edition, you can set the number of accounts you’ll need from 1’000 to 10’000.
When the chart of accounts tells you that you have reached the maximum number of accounts, you can raise the maximum number of accounts in File > Settings.
Account numbers
In the Pro edition, you can either stay in standard mode (4-digit account numbers) or switch to the alphanumeric mode (up to 9 digit account numbers).
Length of account names
In the Pro edition, you can set the length of account names anywhere between 25 to 30 characters.
Number of decimal digits
Set the number of decimal digits of the main currency (from 0 to 3).
e.g. Euro = 0 Swiss franc = 2 Algerian dinar = 3
NOTE : This can only be set once you create a new document and cannot be changed afterwards.
Decimal dot
Desired decimal dot type. Generally a comma (,) or a dot (.). It must correspond to the decimal dot on the numeric pad or in the system settings.
e.g. 321.75 321,75
Thousands’ separator
Character used to separate thousands in big numbers. Generally an apostrophe (‘), a dot (.), a space ( ) or a comma (,).
e.g. 4’321.75 4.321,75 4 321,75 4,321.75
Null integer
Character found alone before the decimal dot in amounts inferior to the unit value. Usually a dash (-) or a zero (0).
e.g. 25 cents will show as -.25 if set to dash (-).
Null decimal character
Character found after the decimal dot in amounts which don’t have a decimal element. Generally a dash (-) or a zero (0).
e.g. 25 francs will show as 25.– if set to dash (-).
Date separator
Character used to separate elements of a date (day, month, year). Generally a dot (.) or a slash (/).
e.g. 24:12,91 will show as 24/12/91 if the date separator is set to slash (/) .
NOTE : In the edit line, dates can be typed using any separator you like. MacCompta Pro will automatically format the date according to your settings.
Share document
This option allows other users on the network to open and edit a document.
Access restriction
This option enables document protection settings. Check to activate it.
See option for password protection
Multiple currencies
This option enables the entry and use of multiple currencies.
VAT automation
This option sets VAT automation.
Show closing plans
This option allows you to show or hide closing plans A, B, C, D in the chart of accounts.
Show account balance
- at selected line: shows account balance for all transactions up to the selected line.
- at given date: shows account balance for all transactions prior or equal to the given date.
Document color
The color palette enables you to choose the background color of your current document window.
You can customize document color by clicking in the first square (the biggest one).
It is also possible to customize the entire color palette in MacCompta Pro > Preferences.
Choosing a different color for each document can visually help you organize your work, especially when you need to work with different documents at the same time.
Date of latest backup
The date of the latest backup can be found in File > Settings.
4 – Opening a document
To open a document click on “Open a document” from MacCompta Pro’s welcome screen or go to File > Open.
In case the document is protected, you will also have to enter your password.
A document can also be opened by double-clicking on it either in the Finder (on Mac) or in Windows Edge or Explorer (on PC).
In MacCompta Pro, you can open as many as 4 documents simultaneously. Opened documents are listed in the menu under Documents. You can also use this menu to show/hide simultaneously all the windows of any given document. Documents which are not hidden are marked with a check «√».
NOTE : You won’t find any save option in the menu to save your modifications as MacCompta Pro automatically does it for you in real time.
5 – Closing a document
To close a document go to File > Close.
The files will be closed while retaining all user settings, such as the position or the view size of windows.
NOTE : Closing windows does not close the document itself which will remain active in (Menu) > Documents.
